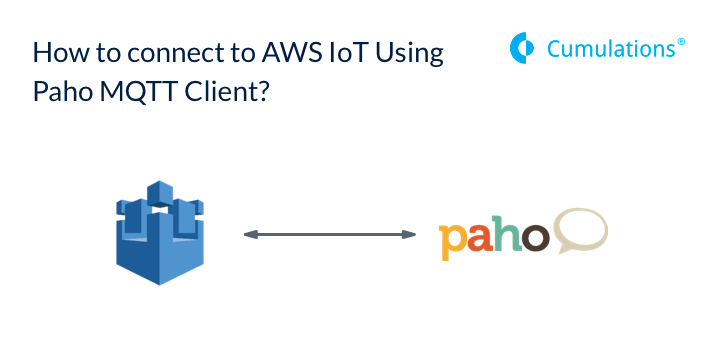
AWS IoT is a great service that will help your devices connect to the MQTT broker without you worrying about deploying and managing the MQTT broker.
While the AWS IoT’s rule engine is great, one would often end up having the need to subscribe to the device data(Shadow, custom topics, connected status) from their code outside Lambda.
Below is a sample Python code that can be used to connect and subscribe device’s data using Paho MQTT client.
Step-1: Install paho
You can install paho using a simple pip command and download the sample MQTT connect program.
AWS IoT only allows encrypted and authenticated connections. So you would need to create your certificates before connecting. Below are the important steps and different from your regular MQTT broker.
Step-2: Create CA and key file
Create a Certificate Authority(CA) and CA key file. If you already have one, you can use the same. Below are the steps using which you can create your CA.
$openssl genrsa -des3 -out myCA.key 2048
(please note the password which you enter here. It is required in the further steps).
$openssl req -x509 -new -nodes -key myCA.key -sha256 -days 1825 -out myCA.pem
Now you would have both the CA and key file.
Step-3: Generate and Register Certificate file
Login to AWS IoT Console and Go to Secure > CAs
Click on Register > Register CA.
In step-4 listed there, change the CA and key file path to the files that you generated in the above step.
$openssl x509 -req -in verificationCert.csr -CA myCA.pem -CAkey myCA.key -CAcreateserial -out verificationCert.crt -days 500 -sha256
Now you need the CA file(.pem) and verification certificate which you can upload on the same page. Click on Register CA Certificate and you should have the CA registered.
Now go to Secure > Certificates to register your certificate.
Click on Create ceritifcate > Use My certificate.
Now select the registered CA that you have just created.
Click on Select certificates > Browse the verificationCert.crt file that you had created in the above steps and upload. Once its successfully uploaded you should have it listed under Secure>Certificates
Step-4: Create a policy
Now you need to create a policy which will let you access AWS IoT resources.
Go to Secure > Policy > Create
Give it a name and select advanced mode. Copy the below JSON and save. This policy will allow you to send IoT commands like publish, connect, subscribe etc to all the resources.
{


 "Version":"2012-10-17",


 "Statement":[


 {


 "Effect":"Allow",


 "Action":"iot:*",


 "Resource":"*"


 }


 ]


 }
Step-5: Attach the policy to certificate
Go to Secure > Certificates. Select the certificate which you created in the above step. Select the Actions drop-down > Attach Policy. Select the policy you created above and click on Save.
You have everything that required. Let’s get back to the program.
Step-6: Code changes.
Please add this line before connecting to the broker.
client.tls_set(caPath, certfile = certPath, keyfile = keyFile)
To get the broker endpoint please go to settings in AWS IoT console. You should be able to see the broker address. Provide this endpoint as a parameter to your connect function.
AWS IoT doesn’t allow non-secure connections. So change the port number to 8883
This should help you to connect, subscribe and publish to the AWS IoT broker. Please feel free to reach out to sales@cumulations.com if you need help on connecting your things to AWS IoT.


 +91-984-5825982 | +91-996-4689921
 sales@cumulations.com
 Send your requirement


