Communication over chatting apps and usage of Firestore Database has increased significantly in the past few years and thanks to the major social media platform for this.
Its use surged more in the covid-19 pandemic. Chatting apps have become a highly important tool for communicating during works or connecting with distant family members. This is because of the development of work from home culture. More and more companies have started adopting chatting apps for internal and external communication.
Seeing their rise, developers have started experimenting with the innovative chatting application for a different purpose, especially for staying connected with others.
If you are an android developer and yet haven’t made any chat app, why not make one? We know it might be difficult first having no required skills in programming for android chat app development. Therefore, here, we are bringing an easy way to build a chat app for android using Firebase Database.
Prerequisites for usage of Firestore Database
To build the android chat application, it’s necessary to have the following things with you:
- Latest Version of Android studio
- A firebase account
If the android studio is not installed in your system, it’s time to do so. Along with that, you need to create a firebase account.
Android studio is used by developers around the world for building any app they want for the android operating system. On the other hand, firebase provides support for developing mobile and web applications. It comes with much functionality, which helps to build an android chat app easily.
Login and Authenticate in Firebase
Authentication is required for authenticating the application users and developers conveniently. You can use email, phone, or password for authentication.
For the user authentication, you have to get their credential and then transfer it to the Firebase Authentication SDK. Firebase also allows users to log in with social accounts.
Here, we will look out for four various activities – log in (login activity), registration (signup activity), password reset(ForgotPasswordActivity), and MainActivity. You need to use Firebase Authentication to connect the project to Firebase.
Choosing a Firebase Database
Firebase features two NOSQLJSON databases – Firestore and Realtime Database. You can find it hard to decide between both of them. However, we want to recommend you Firestore data because it can handle a more complex amount of queries. It is more scalable and supports multi-regional configurations.
It’s worth knowing that everything in Firestore represents a JSON object. It is compatible with any data structure that suits your application. You can create the Firestore database using the following ways:
- Run the Firebase app console in your browser. Click on the “Firestore database” and “create database”
- Choose “Start in test mode” and click on “Next” when secure rules for Firestore prompts
- Now, you can configure Firestore for storing data in various regions of the world or leave it as default. Create the database by clicking the “Enable” button.
- Build, run, choose a channel and try to send a message. You will get the messages on the dashboard.
Steps for Connecting Android Project to Firebase
1) Run Android Studio on your system. And, then, create a new project or open an existing one.
2) Now, log in with your email, which is present at the top right corner of the Android Studio interface.
3) Visit the Firebase website and log in with the credential that you used in the Android Studio.
4) Once you log in, hit the “Go To Console” button located on the upper right corner of the site.
5) It’s time to build your chat project now so click on “Add Project”
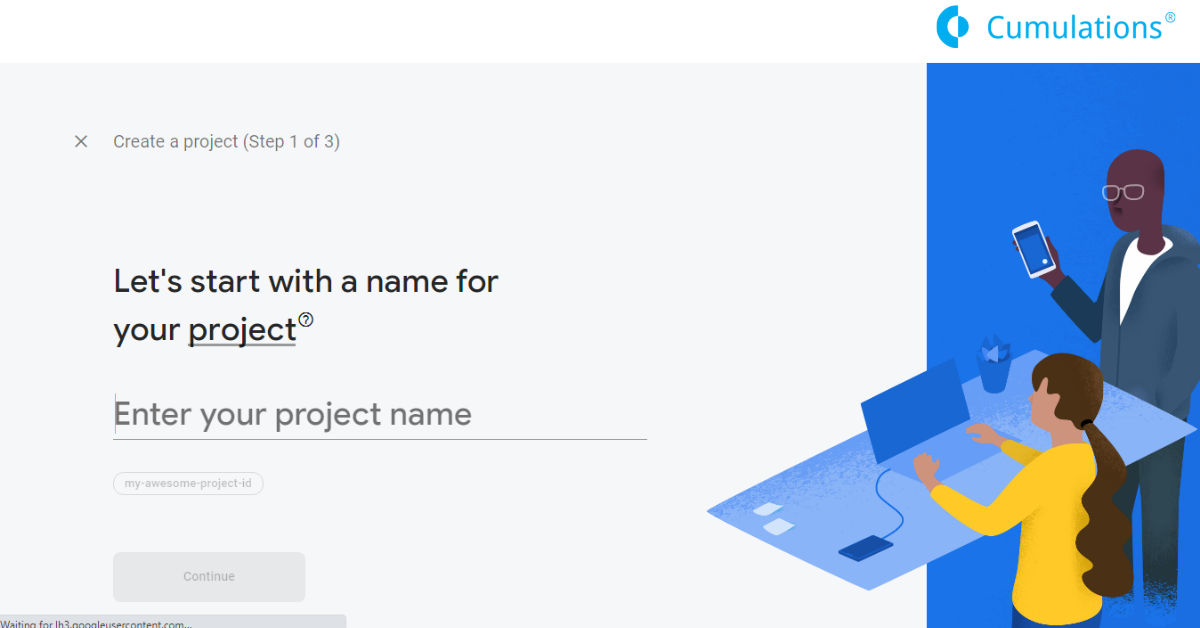
6) Provide the required details about the project and click on the “Submit” button
7) When you have created a project, the Firebase dashboard will be shown with the list of the services you can use.
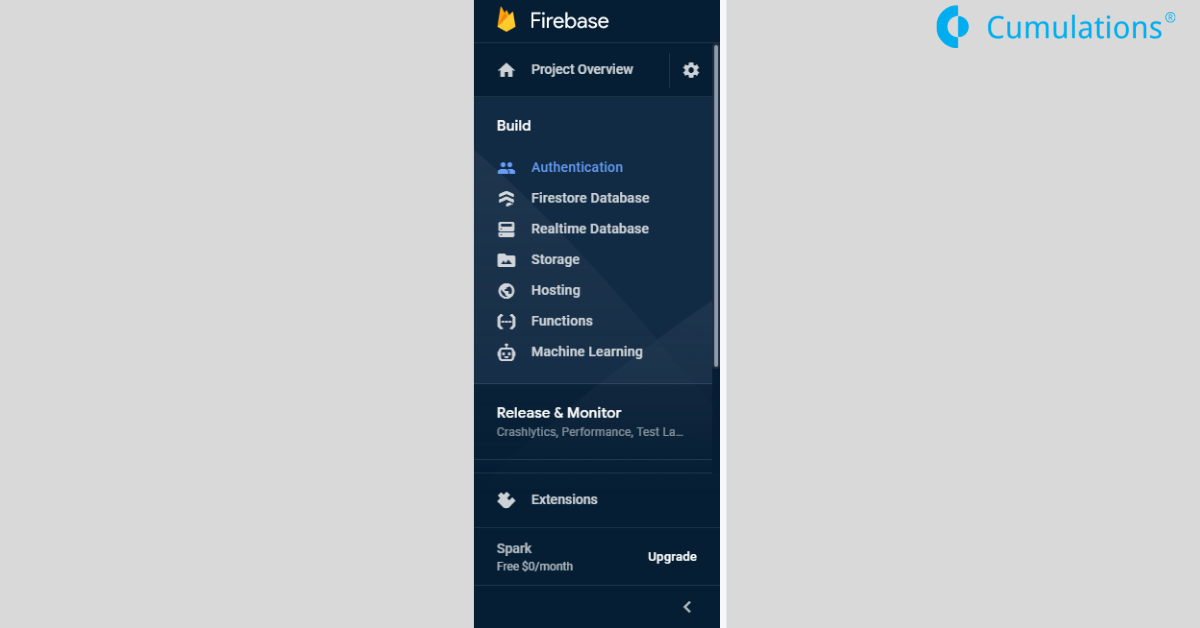
8) Get ready for the Authentication. All you have to do is hit the “Authentication” button and move to the “Sign-in method” tab.
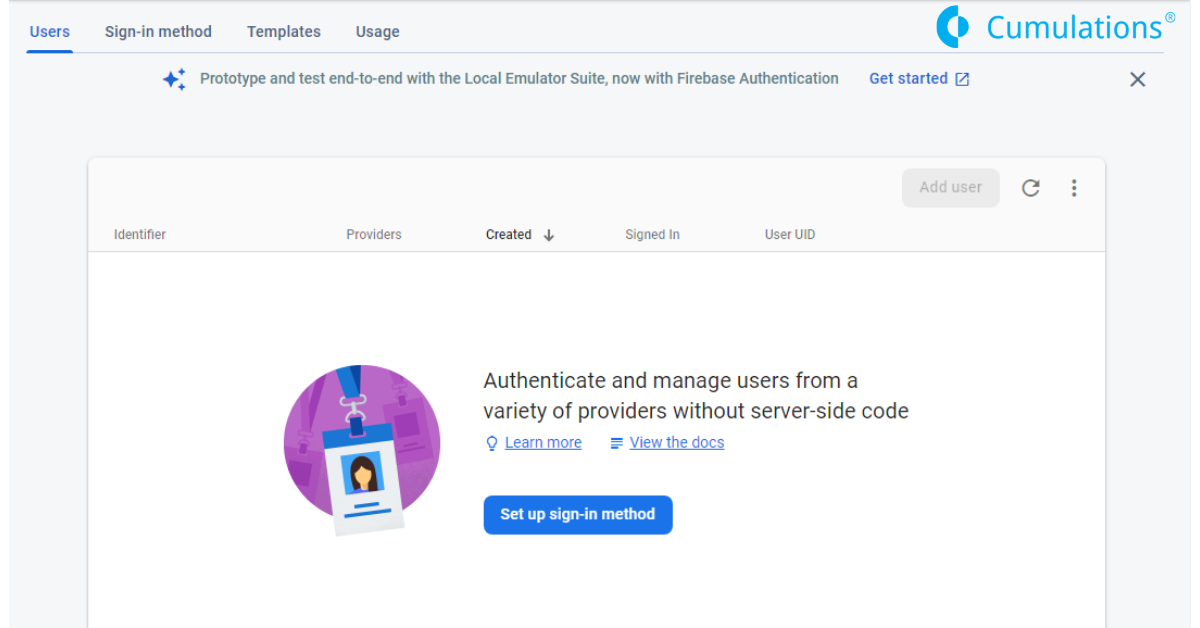
9) We are signing in using the email. To do the same, click on the “edit” button that is just next to the “Email/Password” option. Moreover, please activate Email/Password sign in and click on “Save”. All the processes required for the Firebase website finish.
10) Return to your project in the Android Studio. The next step is to click on “Tools>Firebase>Authentication”
11) Congrats, you have done the basic step up. Furthermore, click on the “Email and Password Authentication”. You will get two options “Connect to Firebase” and “Add Firebase Authentication to your App”.
Remember, you have to connect your project to Firebase. For this, click on the “Connect to Firebase” button. This will show a list of projects you made on firebase.
12) After doing all the above things, you have to add dependencies. Select “Add Firebase Authentication to your app”. A dialog box will appear where you have to “Accept Changes”. The dependencies will be added without your intervention. So, now, you are done with connecting your firebase with android studio.
Adding Activities
As the setting has finished off, building a connection between firebase and add all the activities that we had already mentioned earlier in the content including – MainActivity, LoginActivity, Signup Activity, ForgotPasswordActivity. You have to use Android Studio for this.
User Registration with Email and Password
For users to register on the app, you have to declare an instance variable of FirebaseAuth.
.
private lateinit var auth: FirebaseAuth
In the onCreate () method, perform initialization of the FirebaseAuth instance.
auth = FirebaseAuth.getInstance()
For signup, use createUserWithEmailAndPassword() method, which take the email and password and help in creating a new user.
auth.createUserWithEmailAndPassword(email, password).addOnCompleteListener(this, OnCompleteListener{ task ->
if(task.isSuccessful){
Toast.makeText(this, “Successfully Registered”, Toast.LENGTH_LONG).show()
val intent = Intent(this, MainActivity::class.java)
startActivity(intent)
finish()
}else {
Toast.makeText(this, “Registration Failed”, Toast.LENGTH_LONG).show()
}
})
User Login with Email and Password
For users to log in with the email and password, they require to declare the same instance and initialize as done above.
private lateinit var auth: FirebaseAuth
And for initialization,
auth = FirebaseAuth.getInstance()
Now, use the method signInWithEmailAndPassword() that assist in signing a user in the app after proper validation
auth.signInWithEmailAndPassword(email, password).addOnCompleteListener(this, OnCompleteListener { task ->
if(task.isSuccessful) {
Toast.makeText(this, “Successfully Logged In”, Toast.LENGTH_LONG).show()
val intent = Intent(this, MainActivity::class.java)
startActivity(intent)
finish()
}else {
Toast.makeText(this, “Login Failed”, Toast.LENGTH_LONG).show()
}
})
Similarly, you can build other activities by coding and complete the chat application.
Conclusion on usage of Firestore Database
If you are a developer, then you can build a chat app for fun too instead or with the purpose of learning. Leverage the full power of your android device.
For more details on android chat app development, codes, and firebase setup, you can leave the comments below. We will try to resolve the issue coming in your way towards android chat app development.


 +91-984-5825982 | +91-996-4689921
 sales@cumulations.com
 Send your requirement
